
How To Paint Snowdrops
 At this time of year, we love painting snowdrops. These flowers, so delicate in their appearance are tougher than they look, often surviving the cold and snow.
To us, they are signs of the coming Spring - a new start and the perfect painting project for the new year.
For this project you will need:
DecoArt Americana Acrylic in green - any green is suitable, we used Green Tree in these photos but you can use anything that you have.
DecoArt Americana in Snow White (also known as Titanium White)
Medium Brush liner, No 3 Round Brush and Dotting tool (available separately or as part of our Folk Art Masterclass for beginner painters)
Knowledge of how to paint a comma stroke (taught in our Masterclass for beginners)
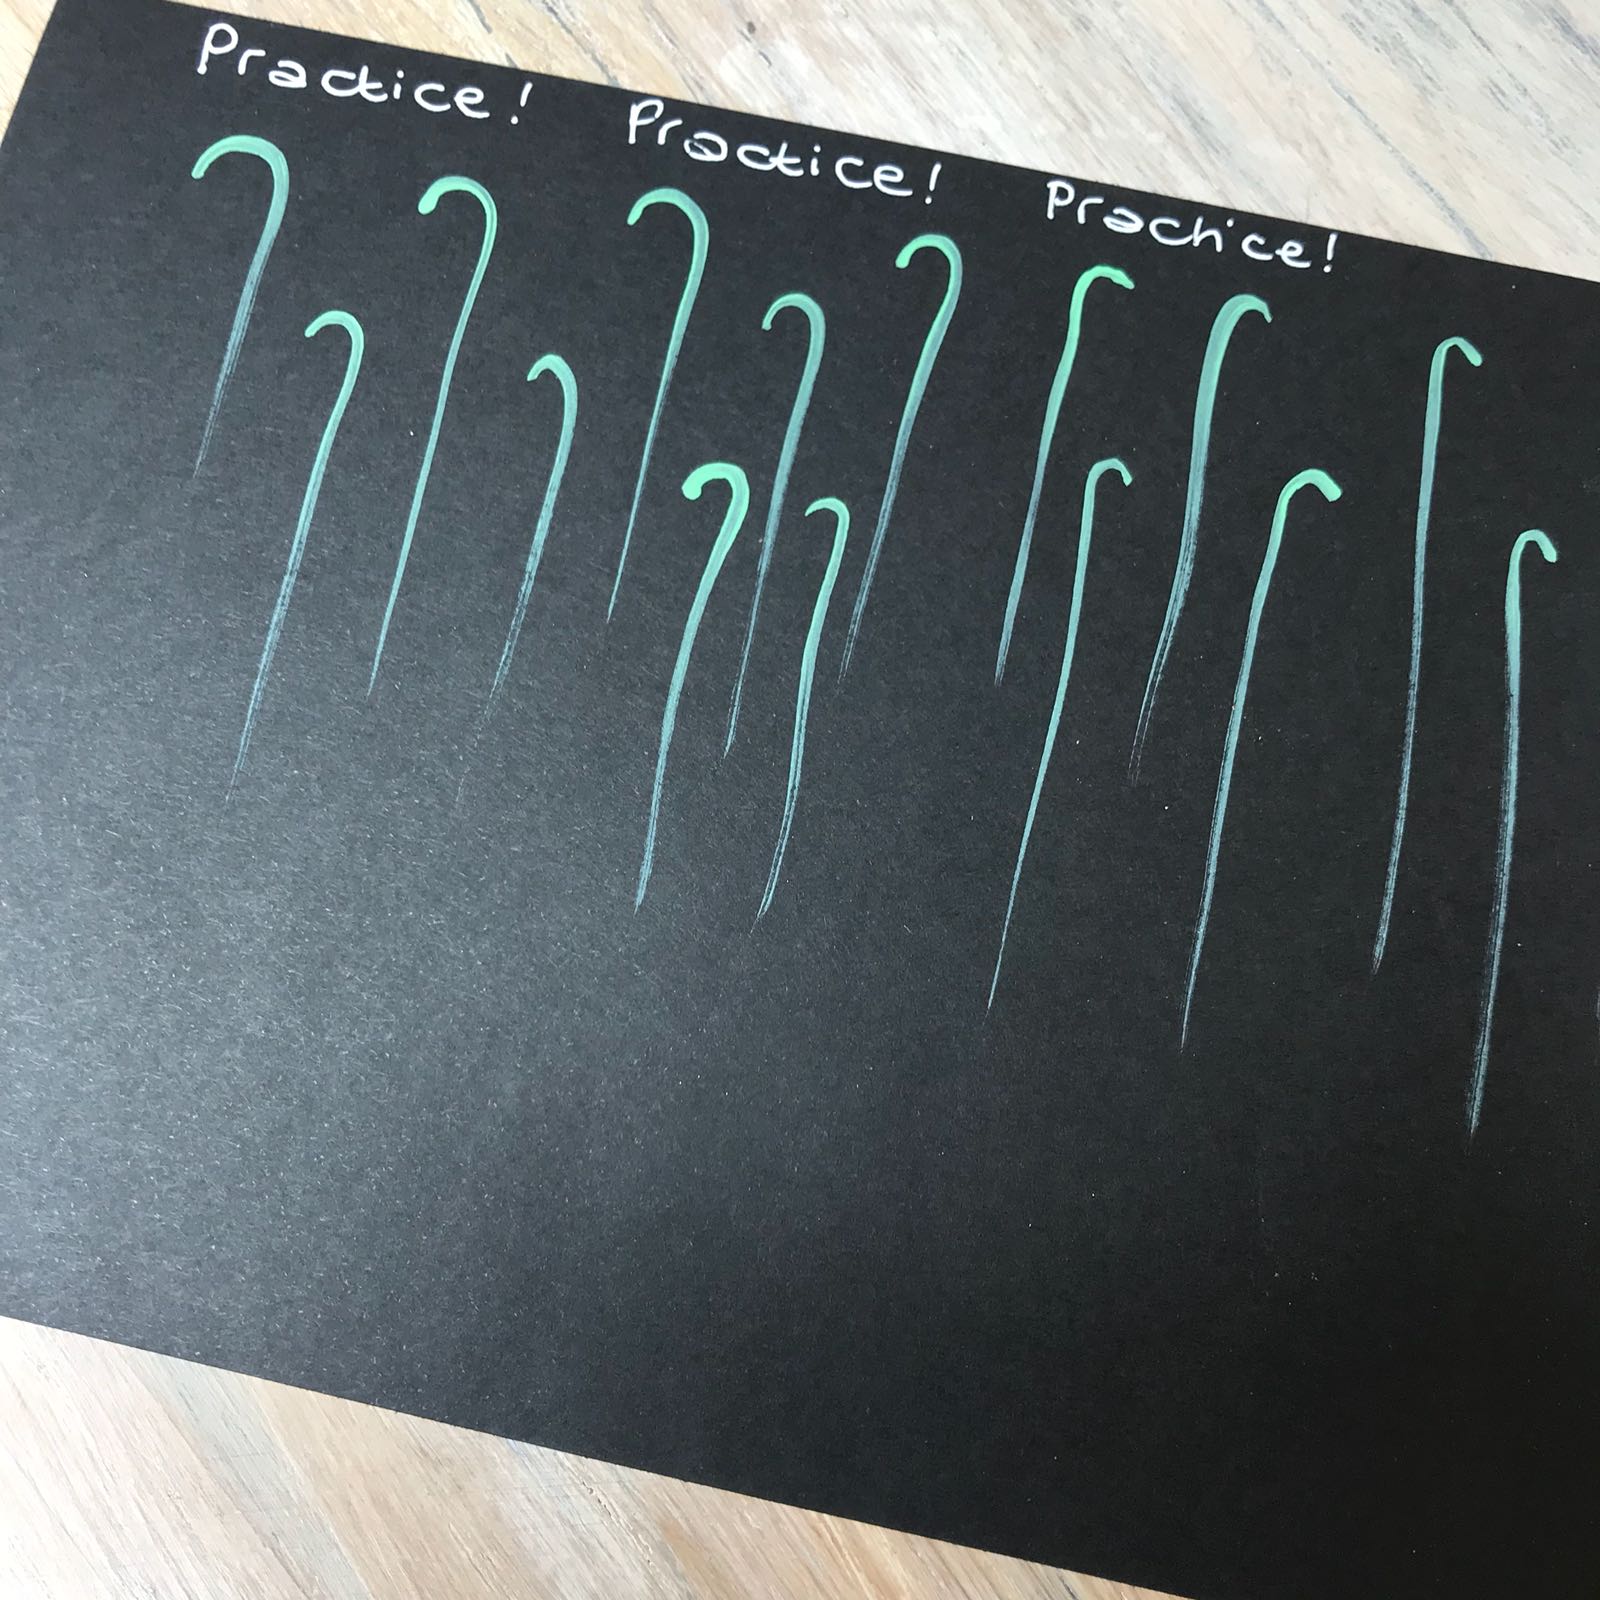
Using the medium liner brush and your chosen green paint, mix a drop of water to your paint. This is to help your brush glide on the paper without running out of paint. If your stalks look a little wobbly at first, don't worry and remember our motto: practice, practice, practice!
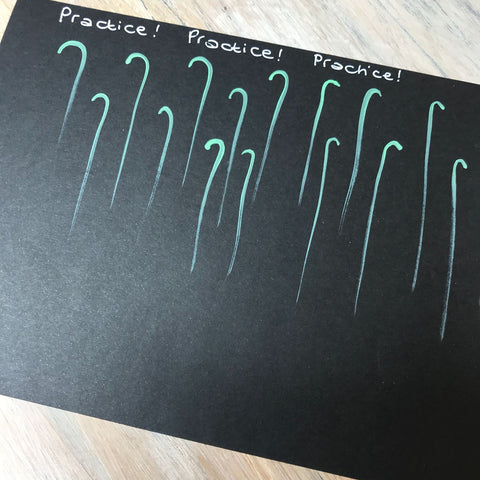
You are looking to paint a drooping stem, so imagine you are painting walking sticks. Practice painting them facing left and right, trying to keep the stems as straight as possible. Don't worry if your paint runs out a little at the end, you can always mask this when you add the comma stroke leaves

Next, practice adding the petals using the No. 3 Round Brush as shown above. Play around with the colours - paint the petals all white, load with green and tip with white or vice versa. Find your own style as you play and practice.
From there, use the liner brush to add comma stroke leaves as shown above.
Once we had practiced our snowdrop, we decided to use them to decorate a plant pot (please note; it will take practice to paint on to a curved surface). If you don't feel confident just yet, why not follow these steps on to a mount board square to create a lovely card?
For this tutorial, we painted our terracotta pot using a dark grey chalky finish. (If you wish to use this pot outdoors once it is completed, make sure you seal every inch of the pot including the hole at the bottom first with something like DecoArt's Multi Purpose Sealer to prevent the pot absorbing water).

We painted the snowdrops approximately 3cm apart, alternating 1 long and 1 short. The Daisies are 2cm apart 1 high and 1 low. You can use a chalk pencil to mark the design, but you may find it easier to paint the design straight onto the pot without the constraints of having to follow a line.

Paint the stems using the techniques you have just learnt before adding petals and leaves. Next, add the dotty daisies along the top of the pot using the large end of the dotting tool.
Finish with a coat of wax (if it is to stay indoors) or varnish (for outdoor pots) to preserve the design.
If you would like to use the techniques in this post to create more snowdrop projects, check out our inspiration post here.
Happy painting!
Until next time x