
You will need:
- Brushes & Tools: Medium Liner, Flat Brush, Dotting Tool
- DecoArt Americana: Tangelo Orange, Burnt Umber, Warm White, Avocado, Bright Yellow
- Other: Practice paper, tracing paper, transfer paper
- DecoArt Americana: Tangelo Orange, Burnt Umber, Warm White, Avocado, Bright Yellow
- Other: Practice paper, tracing paper, transfer paper
Before painting your project, practice all the elements on the practice paper. (You can find the patterns on our Folk It patterns Pinterest board.) It's always a good idea to try painting the larger Pumpkin from the practice sheet first before moving onto the smaller ones.
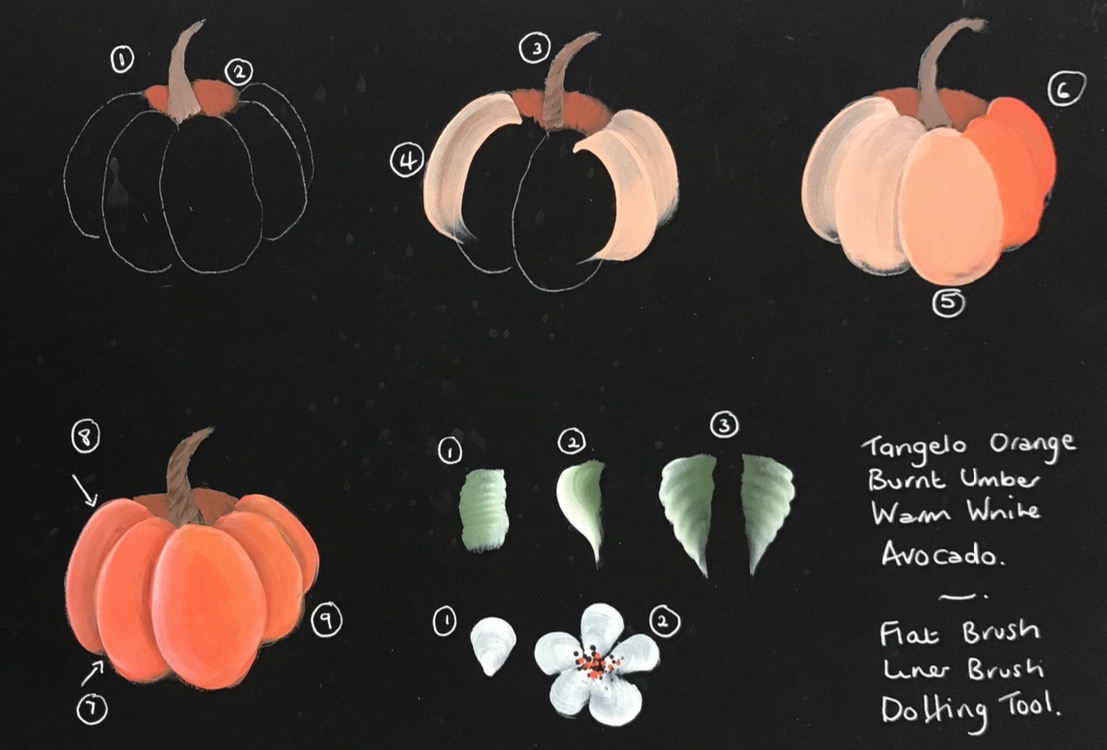
1. Add a touch of Burnt Umber to Tangelo Orange and paint around the stem.
2. Add a touch of Burnt Umber to Warm White and paint the stem.
3. Add water to Burnt Umber and with this watery mix use your Liner Brush to apply uneven diagonal lines to the stem.
4. Add a touch of Tangelo Orange to Warm White and starting at the back, paint each section of the Pumpkin using a 'C' stoke.
5. Apply a second coat of this mix if necessary. (Tangelo Orange is a transparent colour, therefore we are creating a base so that the colour stays vibrant. If you are painting onto a light coloured surface you can omit this step).
6. Next apply a coat of Tangelo Orange to the front sections.
7. Float Burnt Umber. Before beginning this step, study the pumpkin below for a moment, bearing the following in mind... The Burnt Umber is going to create a shade, so we are floating the darker colour to any section that is behind another.
8. Float Warm White on the edges of the Pumpkin that sit in front of another. By using this technique, we help flat objects take shape. To the eye, dark colours recede so look further away and light colours advance and so appear closer.
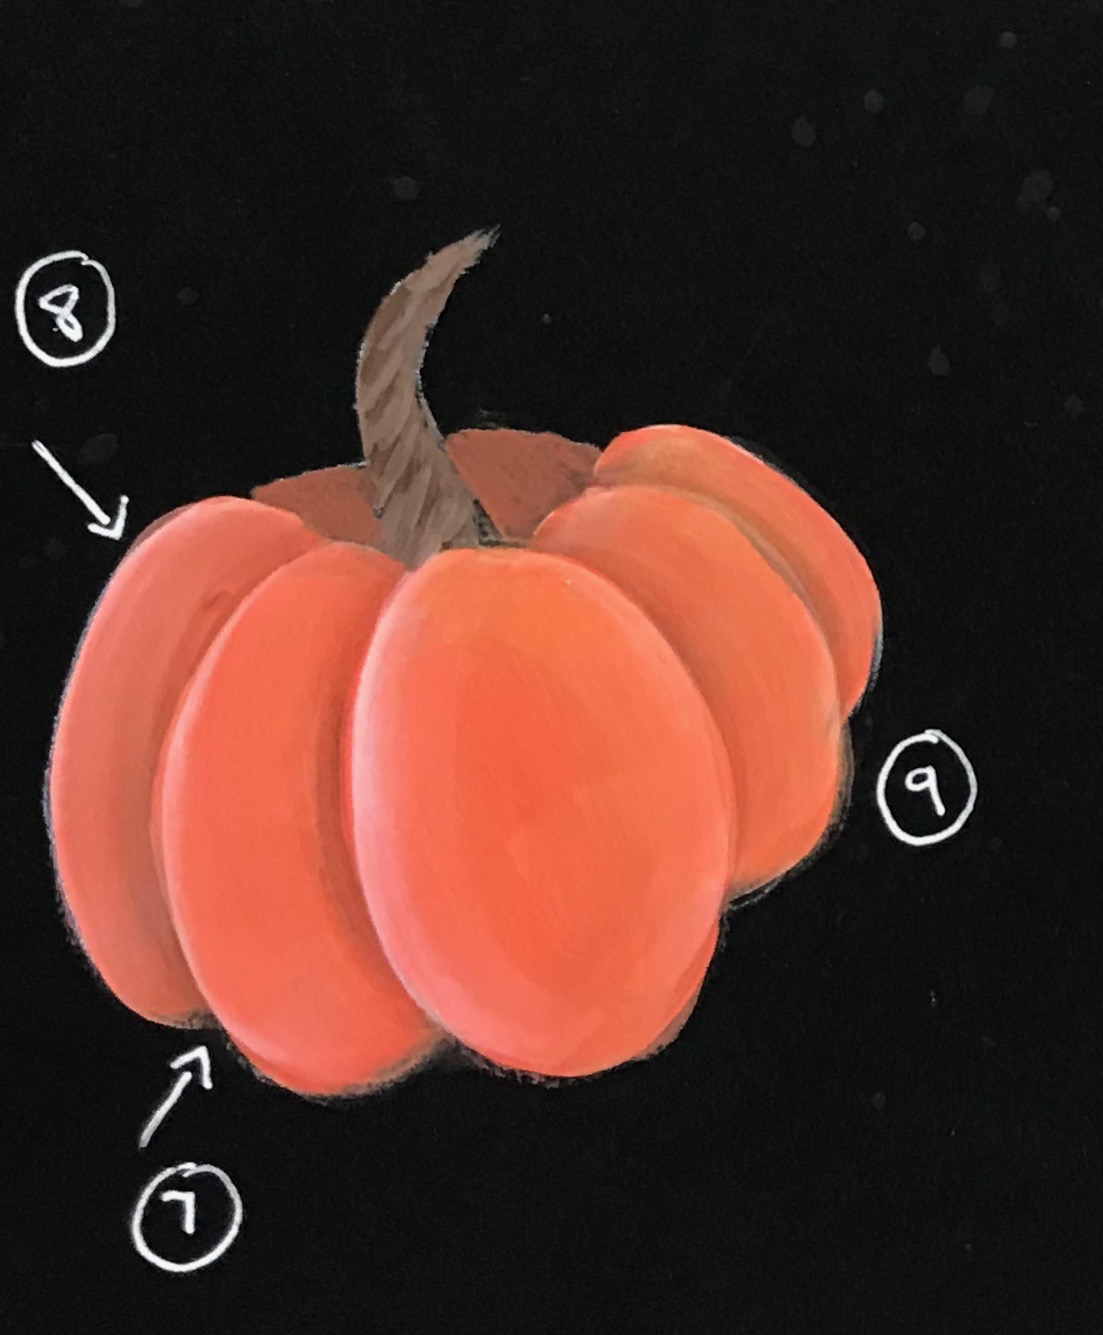
9. Make a wash with your flat brush using plenty of water and Bright Yellow and apply over the whole Pumpkin, see how this has reduced the whiteness of the floated highlights, this is a great way to dull your floated colours if you have just started learning...it also gives the Pumpkin a lovely warm glow.
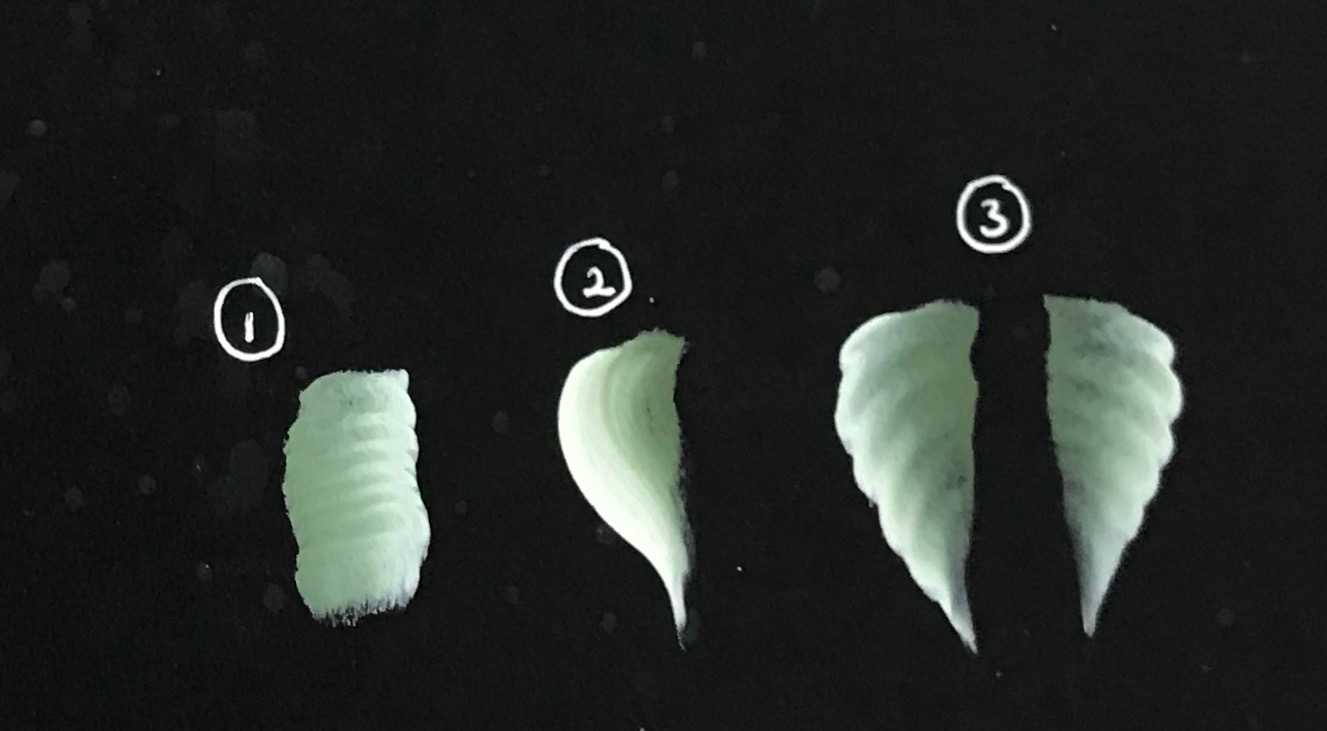
10. The leaves are created using the wiggle stroke, a comma stroke using the flat brush and combining the 2 together. If you have not yet progressed to this level, then use your favourite leaf.
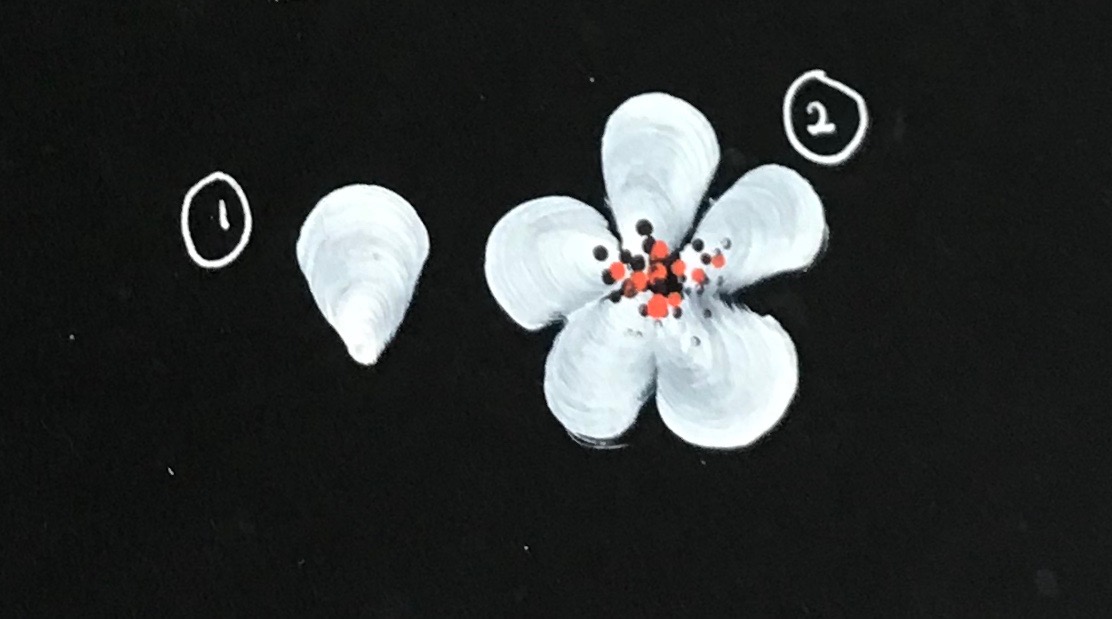
11. For the blossom use Warm White to paint each of the petals and apply dots using Burnt Umber & Tangelo Orange.
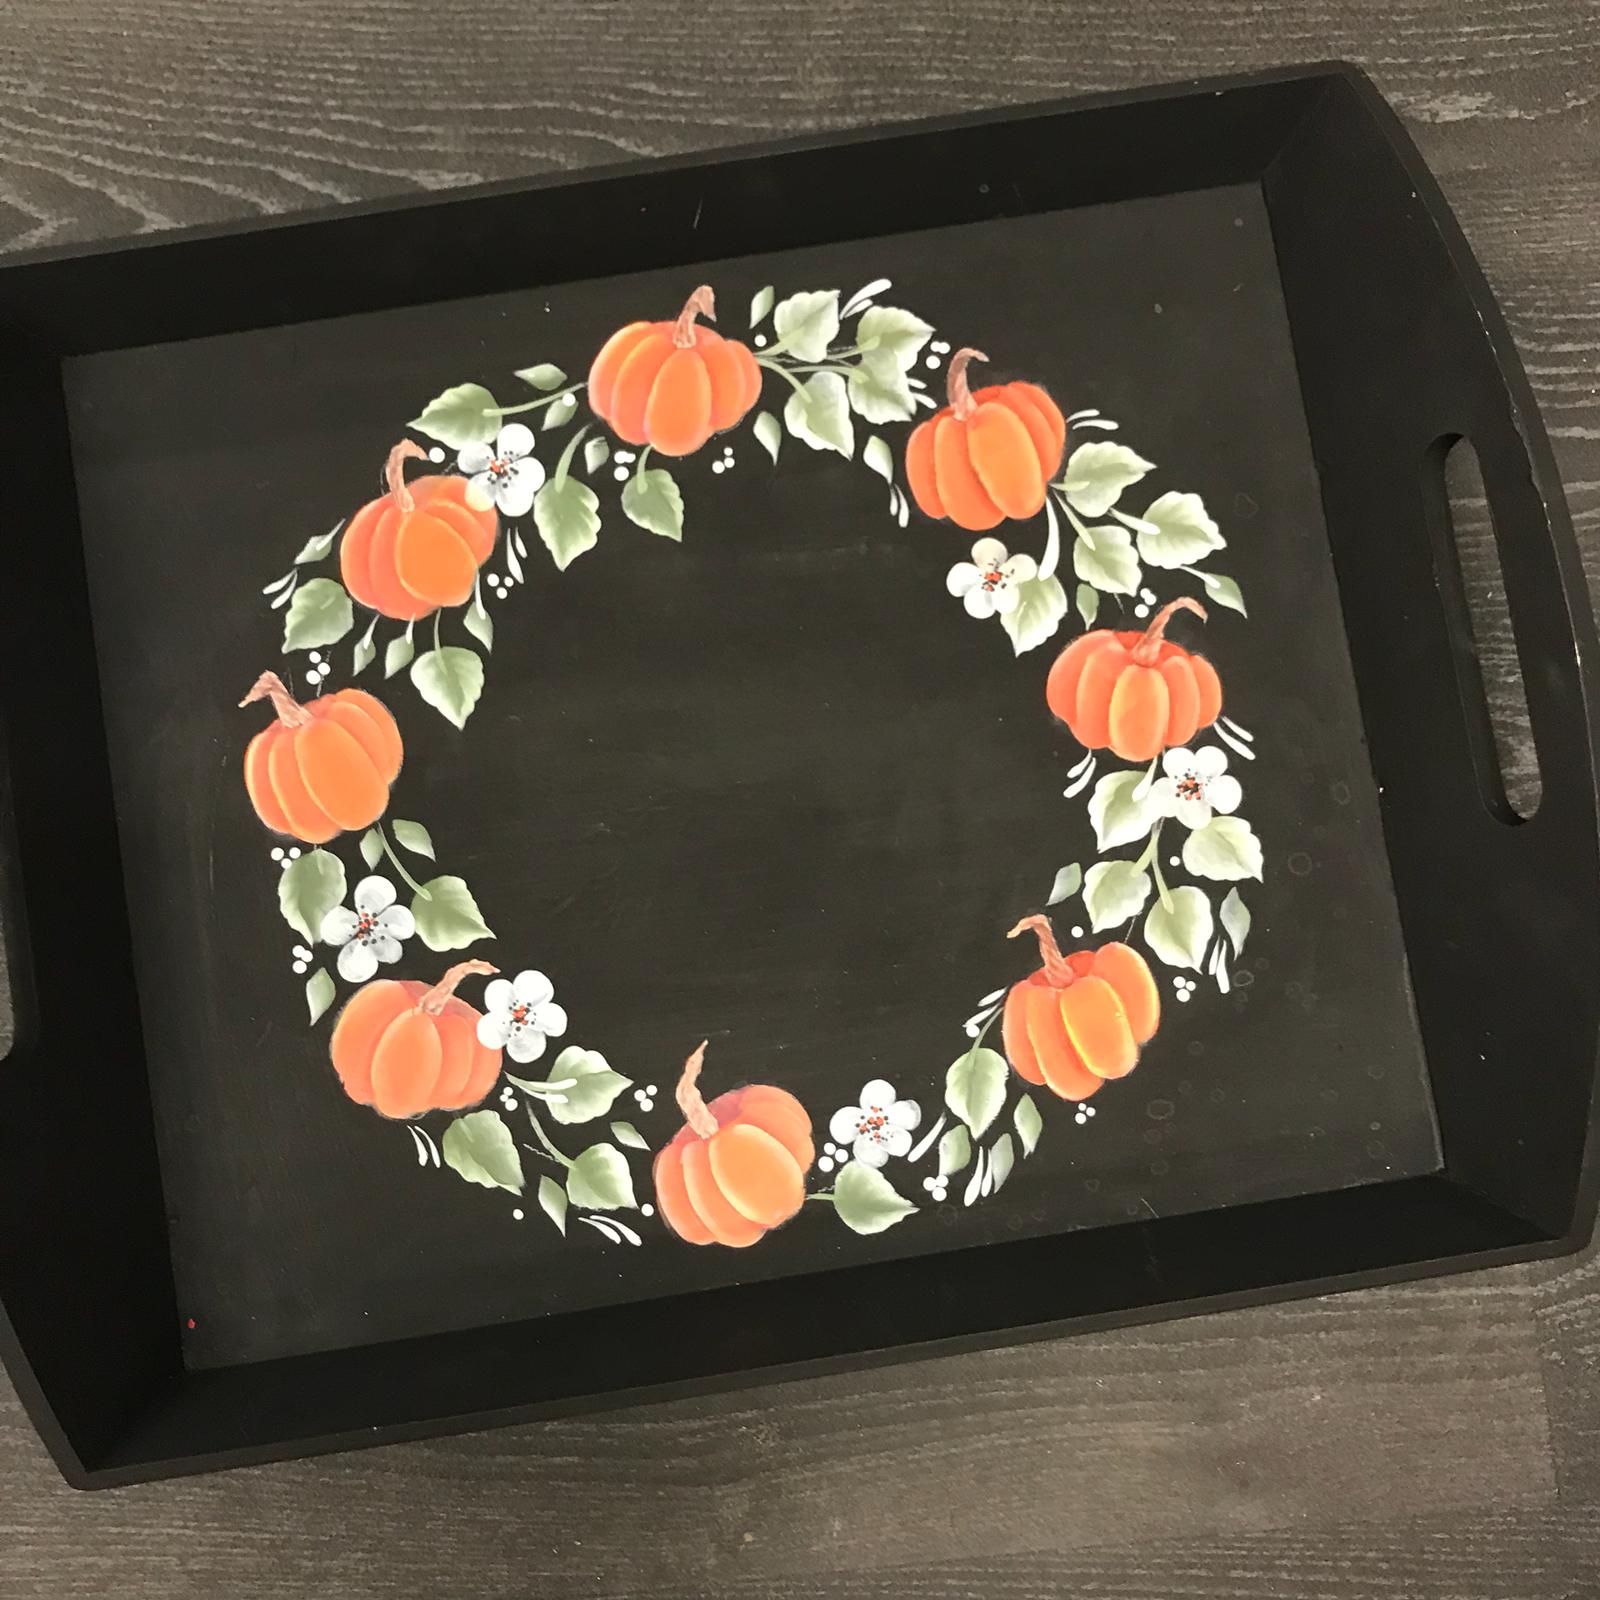
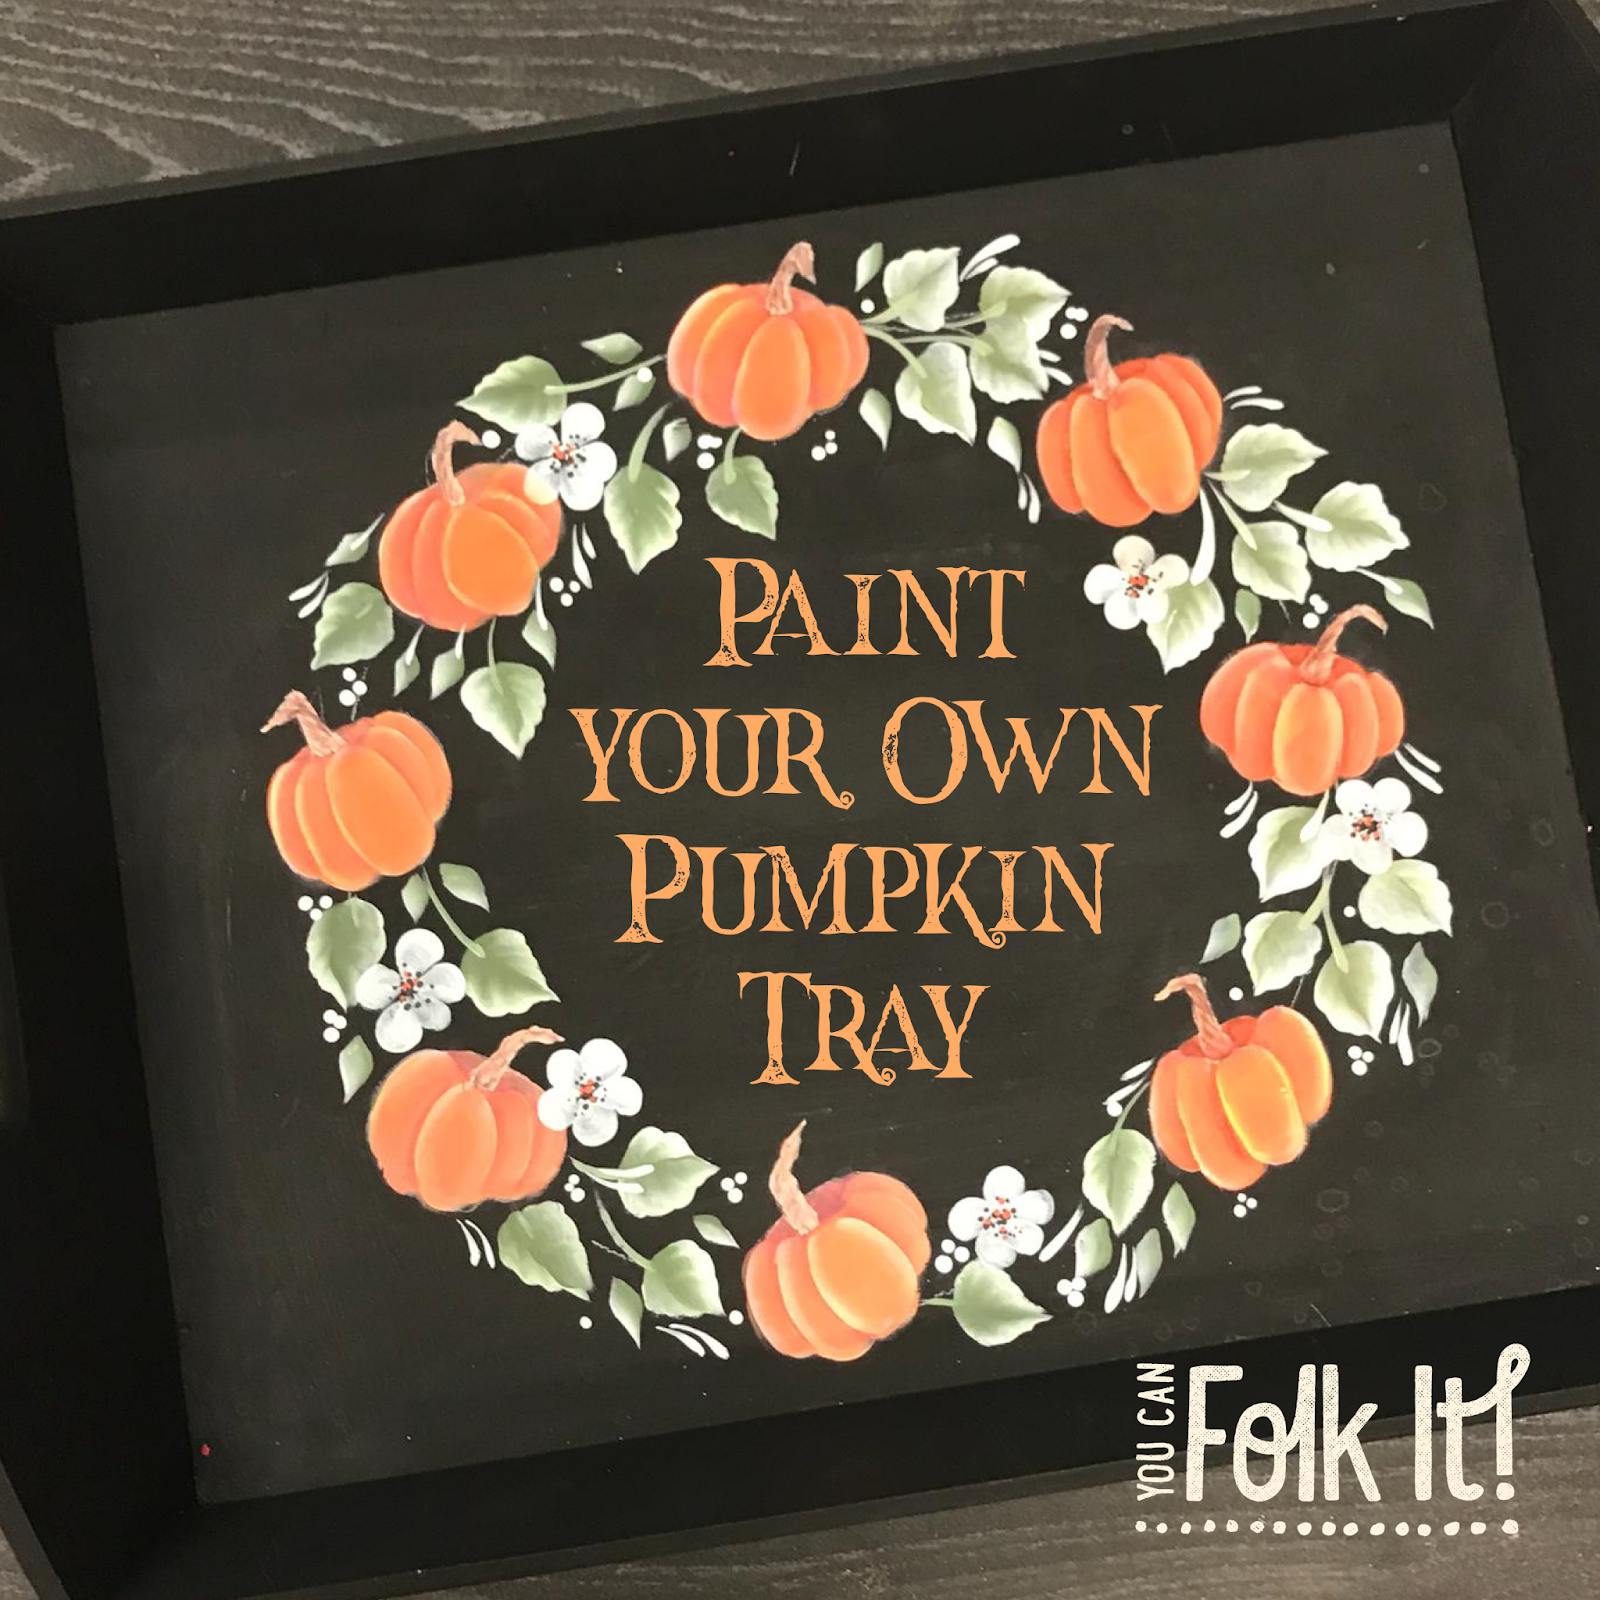
Once you are happy with your skills, you can create your final design. To create your wreath, begin by painting the pumpkins. When painting the stalks, try to paint them in different directions to add variety.
Next, add your leaves. Using single leaves and clusters, aim to fill the majority of your circle. If you do not feel comfortable using the ruffled technique, use whichever technique you do feel comfortable with. We painted leaves in a few sizes, again to add interest to the design.
Next, add single blossom flowers around the wreath - don't worry if they overlap areas you have already painted. Finally, identify any areas that look empty and add dots (using the small end of your dotting tool) and small comma strokes using your liner brush.
To seal your work, you could use DecoArt wax, however, if you have painted a tray as we have done, it is better to opt for a couple of coats varnish to protect your project.
Remember to send us or tag us in your final designs, we love to see your work!